
How to Edit and Crop Media in a Guide
This guide demonstrates the process of editing and cropping an existing image or video within a Lantern guide using the built-in media editor.
Beginner3 minutes5 steps
Overview
Learn how to easily modify visual content in your guides. This workflow covers selecting an image for editing, accessing the media editor, choosing specific frames, adjusting the crop region, and applying your changes to update the media asset.
When to Use
Use this workflow when you need to refine the visual presentation of images or video clips embedded in your guides, such as adjusting their focus, dimensions, or selecting a specific frame from a video.
Prerequisites
- An existing Lantern guide with media embedded.
- Appropriate permissions to edit the guide content.
Steps
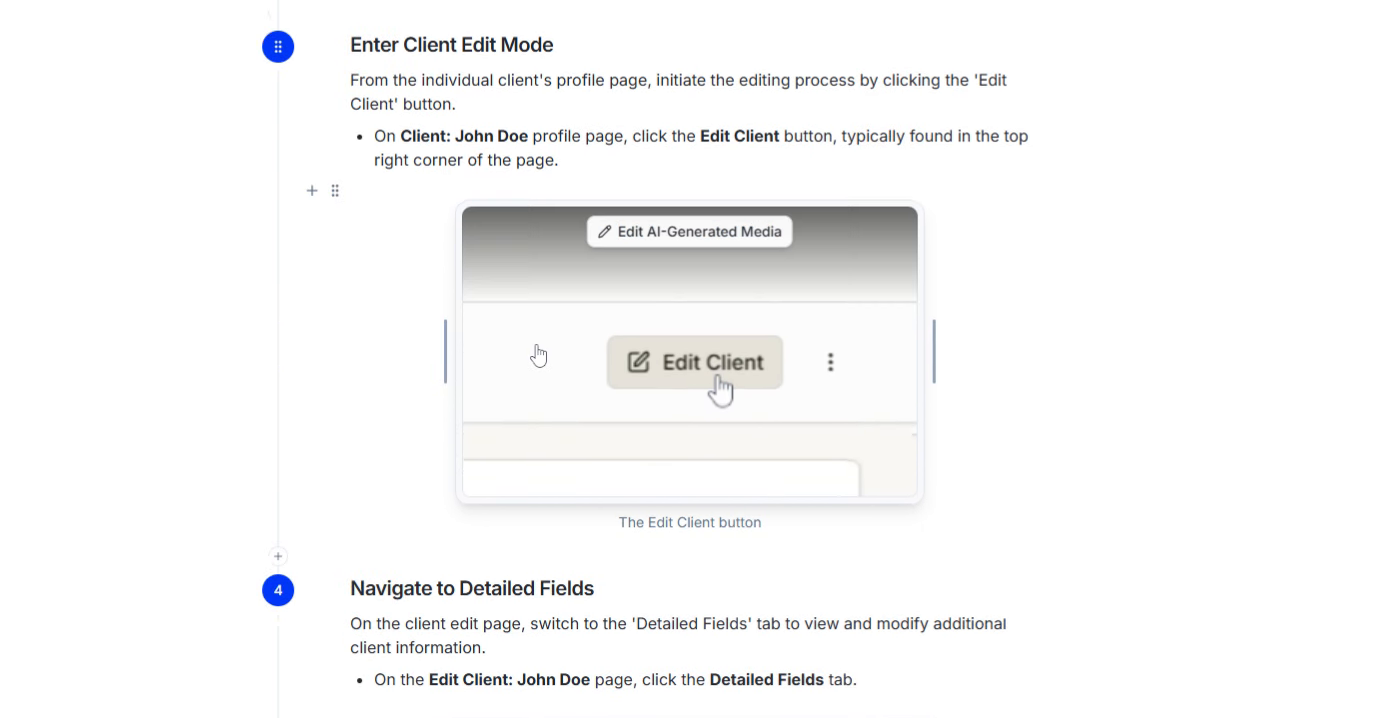
Select Media for Editing
To begin editing, locate the image or video within your guide that you wish to modify. Clicking on the media block will reveal contextual options.
- Click the image block containing "The Edit Client button".
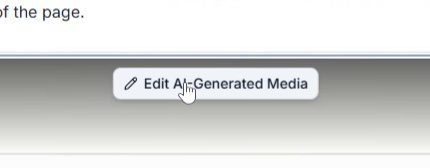
Access the Media Editing Tool
After selecting the media, a toolbar will appear. Click the 'Edit AI-Generated Media' button to open the dedicated media editor.
- Click the Edit AI-Generated Media button to launch the editor.
This step may involve clicking an initial 'Edit Media' button in a smaller pop-up before the full editor modal appears, depending on your setup.
Select a Frame for Editing
Inside the media editor, if working with a video, you can select a specific frame to use. The editor presents a series of numbered buttons, each representing a different frame from the video. Choose the most suitable frame for your guide.
- Click the Edit Media button in the initial pop-up.
- Click a numbered frame selection button, for example, the button labeled
1or8to select a specific video frame.

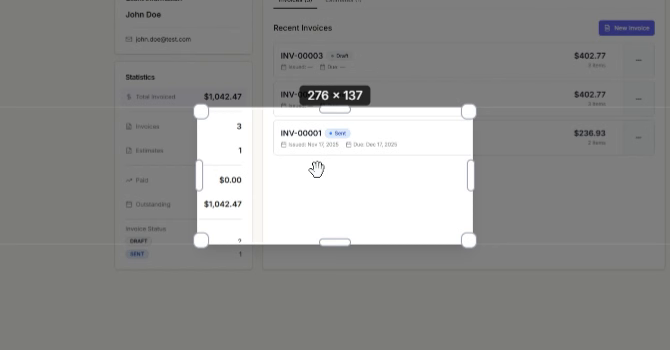
Adjust the Crop Region
Once a frame is selected, an overlay with resizing handles will appear over the media. You can drag the corners or edges of this crop box to define the desired area. Additionally, click and drag within the box to reposition the cropped section.
- Click and drag the crop box to reposition it over the desired area.
- Click and drag the resize handles (e.g., the bottom-left corner) to adjust the dimensions of the crop box.
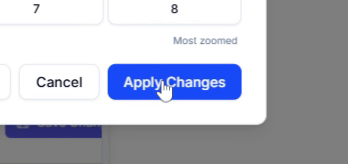
Apply Changes to Media
After you've finalized your crop and frame selection, apply the changes to update the media asset in your guide.
- Click the Apply Changes button to save your modifications.
Troubleshooting
My changes are not saving or appearing in the guide.
Ensure you clicked the 'Apply Changes' button within the media editor. If you closed the modal without applying, your edits will be lost. Also, confirm that your guide has been saved after applying media changes.
I can't resize or move the crop box.
Make sure you are clicking directly on the resize handles (small squares at corners/midpoints) or dragging within the crop box itself. If the issue persists, try closing and reopening the media editor.
The media editor modal isn't opening when I click 'Edit AI-Generated Media'.
Check your browser's console for any JavaScript errors. Ensure your internet connection is stable. If the problem continues, refresh the page and try again. You might also try clearing your browser cache.